Skip to content
Clockdiaryclock diary
Menu
  • Pricing
  • Features
  • Blogs
  • Help Center
  • Contact Us
  • Download
  • Sign In
  • Sign up
  • Feature
  • Pricing
  • Testimonials
  • Instant Solution
  • Sign In
  • Book A Demo
  • Sign Up Free
Projects
  • How to Create a New Project
  • How to edit a project
  • How to Manage Project Access
  • How to Archive a Project
  • How to restore archived projects
  • How to assign project access to a member
Customers
  • How to Add a Customer
  • How to view customer details 
  • How to edit customer details 
  • How to archive customer details
  • How to restore archived customers
Teams
  • How to Create a Group
  • How to Add Members to a Group
  • How to Remove Members from a Group
  • How to Add Members to A Team
  • How to Remove Members from Teams
  • How to Archive a Member in Teams
  • How to Assign a Role to a Member
Work Zones
  • How to add a new workzone 
  • How to update workzone settings
  • How to delete a workzone
Labels
  • How to add labels
  • How to archive or restore labels
Profile Settings
  • How to change password
  • How to change profile picture
  • How to edit my profile 
Time Recorder
  • How to create a Time Entry
  • How to Signup 
  • How to create a duplicate time entry
Activity Tracker
  • How to Enable or Disable Screenshot Tracking
  • How to Use the Activity Tracker for Employee Monitoring
  • Home
  • Clockdiary Help
  • Activity Tracker
  • How to Enable or Disable Screenshot Tracking

How to Enable or Disable Screenshot Tracking

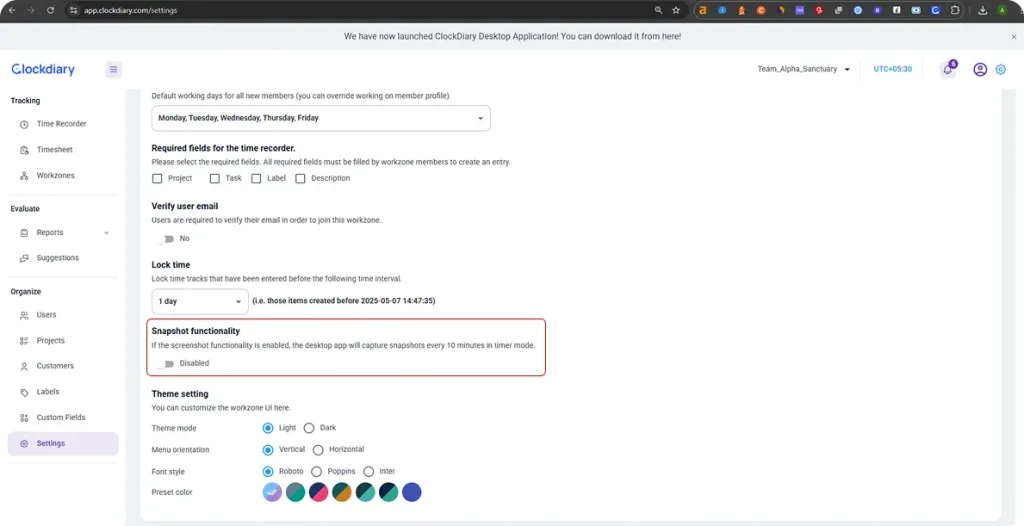
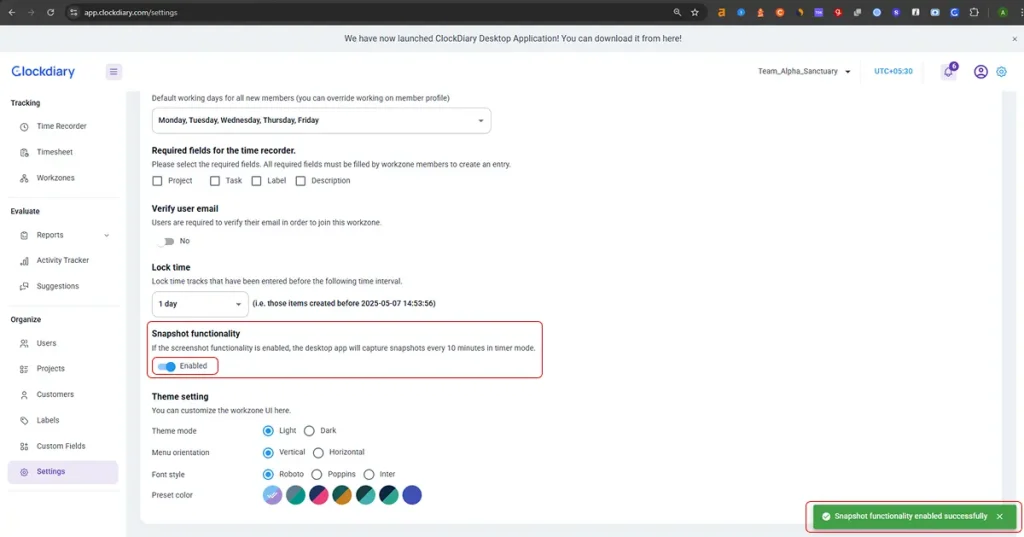
Clockdiary allows you to control whether screenshots are captured during time tracking sessions. By enabling screenshot tracking, you can monitor employee activity by capturing screenshots at regular intervals (every 10 minutes). If you prefer not to have screenshots taken, you can easily disable this feature at any time.

Follow this simple guide to turn screenshot tracking on or off based on your preferences.

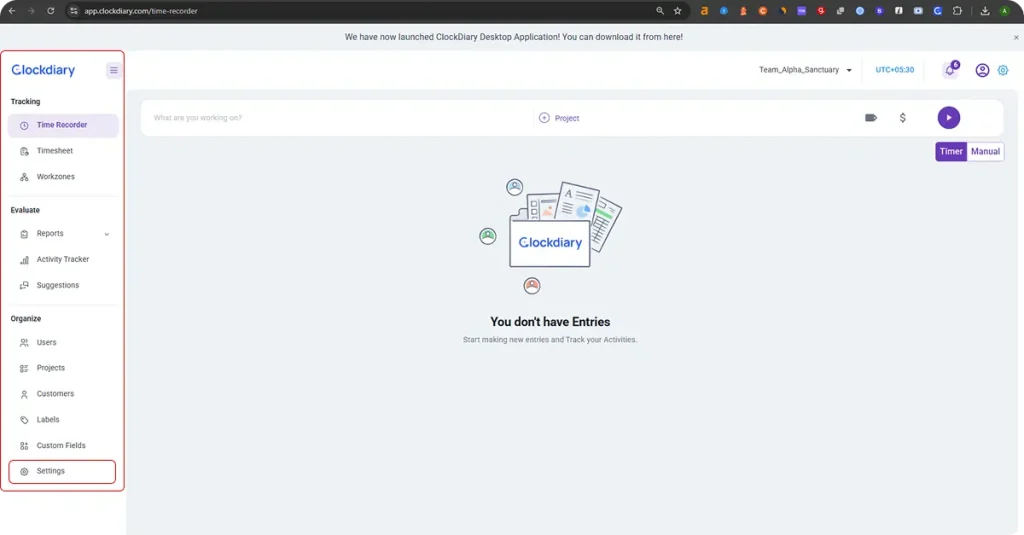
Step 1: Log in to the Clockdiary Web Portal

Open your browser and go to the Clockdiary web portal. Once you’re logged in, navigate to the Settings option in the left sidebar to access screenshot monitoring.

Clockdiary Setting Dashboard

Step 2: Find the Snapshot Functionality Section

Scroll down until you reach the Snapshot Functionality section. Here, you’ll see a toggle switch to enable or disable screenshot functionality.

setting of screenshot functioanlity

Step 3: Enable Screenshot Tracking

If you’d like Clockdiary to capture screenshots every 10 minutes while tracking time, simply turn the toggle ON.

screenshot functioanlity ON dashboard

Step 4: Disable Screenshot Tracking

To stop the screenshots from being taken, turn the toggle OFF.

Step 5: Changes Are Applied Automatically

Your changes will take effect immediately. The screenshot functionality will adjust based on your selection.

Share This Article :
  • Facebook
  • Twitter
  • LinkedIn
  • Pinterest
How to Use the Activity Tracker for Employee Monitoring
Clockdiaryclock diary
Keep Updated
Quick Links
  • Blogs
  • Pricing
  • Military To Standard Time Converter
  • Time Card Calculator
  • Sitemap
  • Privacy Policy
Help Docs
  • Projects
  • Teams
  • Customers
  • Work Zones
  • Profile Settings
  • Time Recorder
Features
  • Time Recorder
  • Multiple Work Time Zones
  • Manage Teams
  • Manage Projects
  • Lock Time
Time Tracking Solutions
  • For Lawyers
  • For Accountants
  • For Freelancers
  • With Screenshots
  • For Remote Teams
Contact Us
  • Contact Us
  • Book A Demo

Copyrights © 2025 | Clockdiary All Rights Reserved