Granting the right project access to your team members is crucial for smooth collaboration and productivity.
In this guide, you’ll learn how to assign project access to a member step by step—ensuring each person has the appropriate permissions to view, edit, or manage project tasks. Whether you’re onboarding new employees or managing role-based access, this tutorial makes it easy to control who can access what within your project workspace.
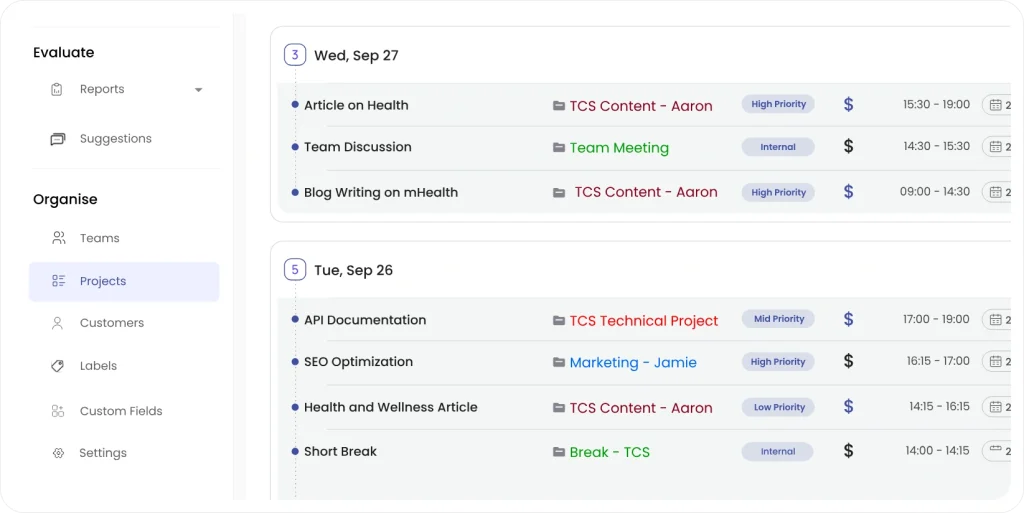
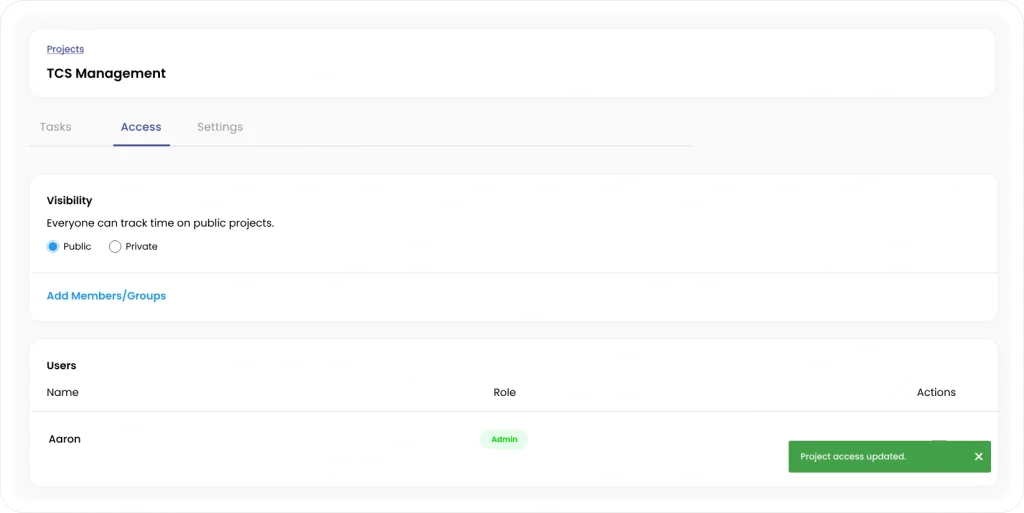
Step 1: To assign project access, click on the Projects option from the sidebar menu.
Step 2: Click on the edit Pencil icon for the project that you want to assign to members/groups.
Step 3: The Project settings window will appear, choose Access from the Menu.
Step 4: You can manually add members/groups by entering name in the search field or selecting multiple members/groups from the dropdown menu.
Step 5: Once you have added new members/groups to the project, a pop-up notification at the bottom right will notify you that the project access has been updated and members have been added.
If you still have any queries, please email us at support@clockdiary.com.